PS1 - PSU and xStation Mod
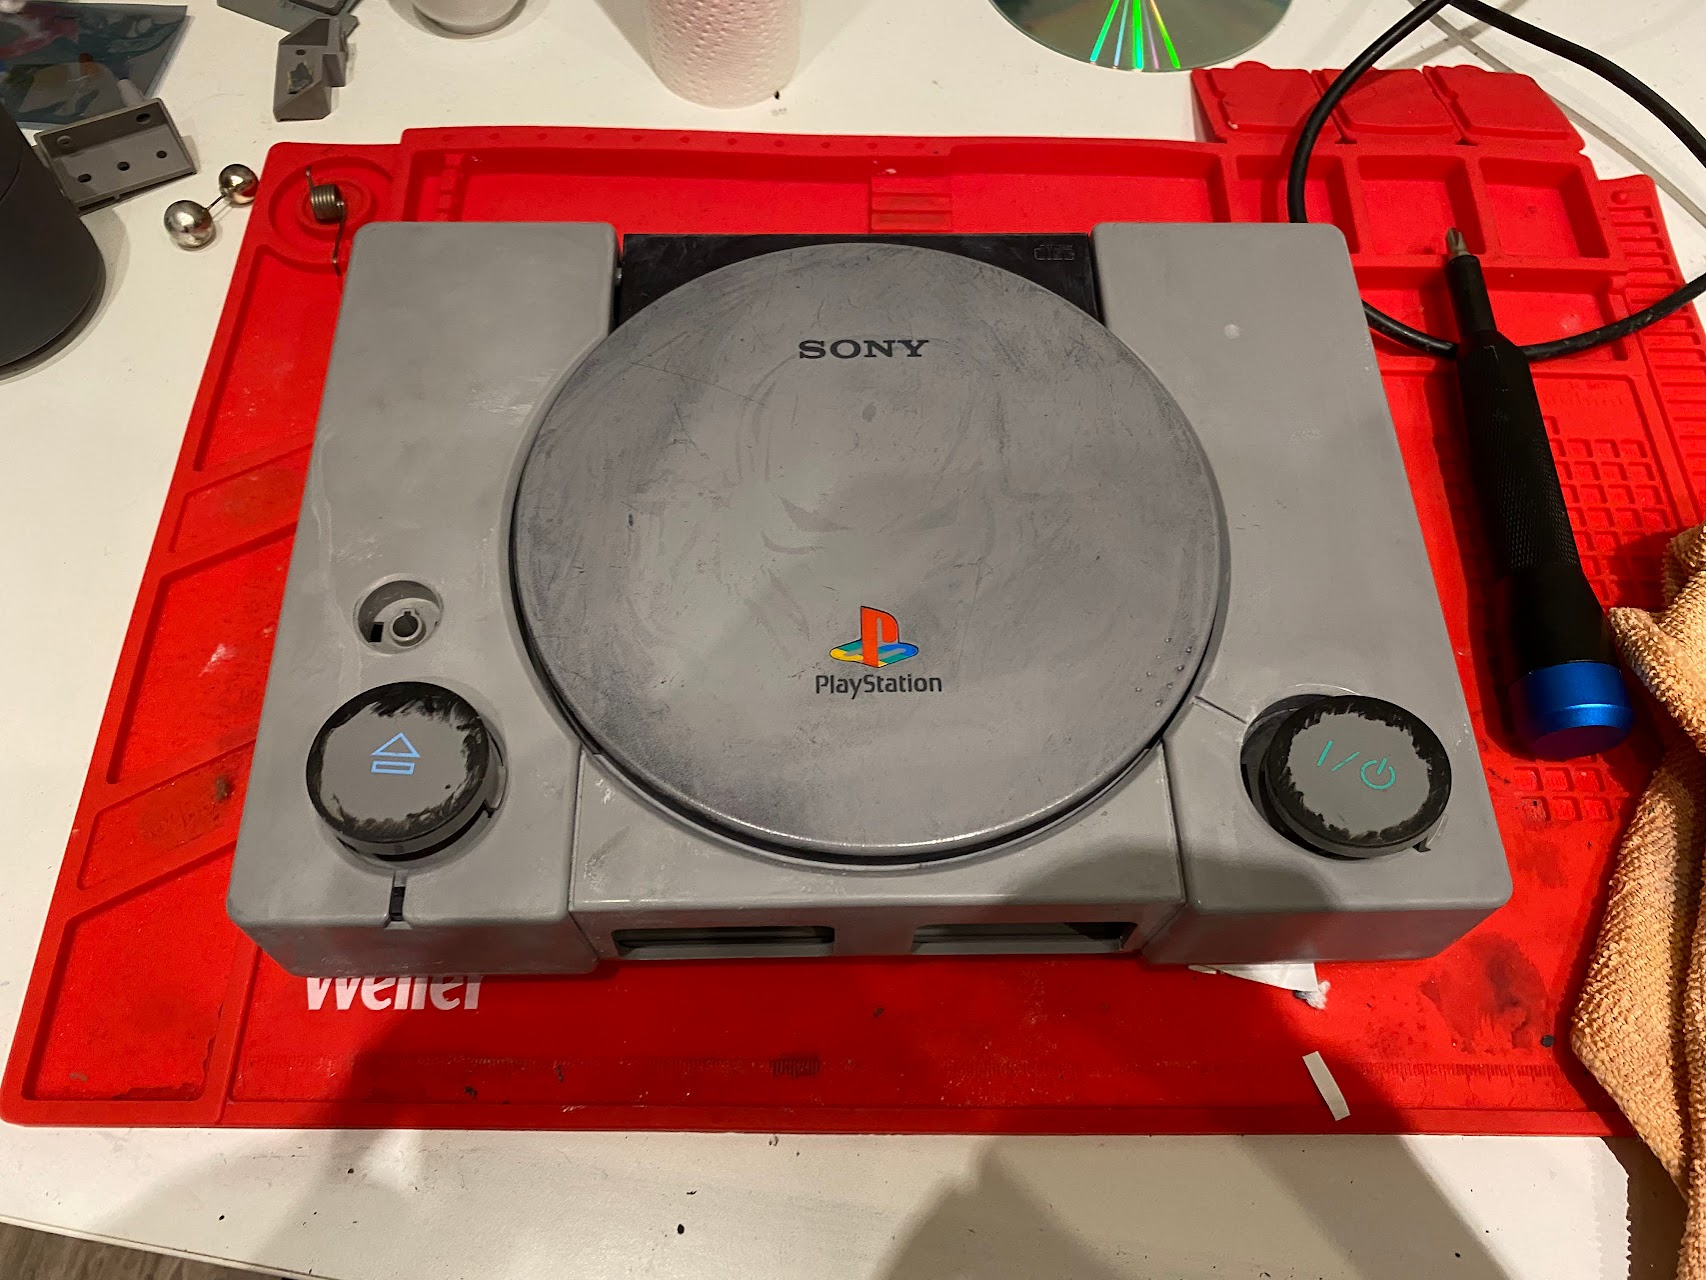
Soooo, I got a Playstation 1 from a lot we bought together with a friend but it was EXTREMELY covered in permanent marker.
I wanted to refurbish it and leave it as original as possible, but after some scrubbing with alcohol, acetone, etc I realized it was going to be an impossible task. Acetone and other paint removers are also really aggresive on plastic (learned the hard way on a painted Amiga 1200 case, so be careful) but I decided to give it a try since I was planning on painting the console.
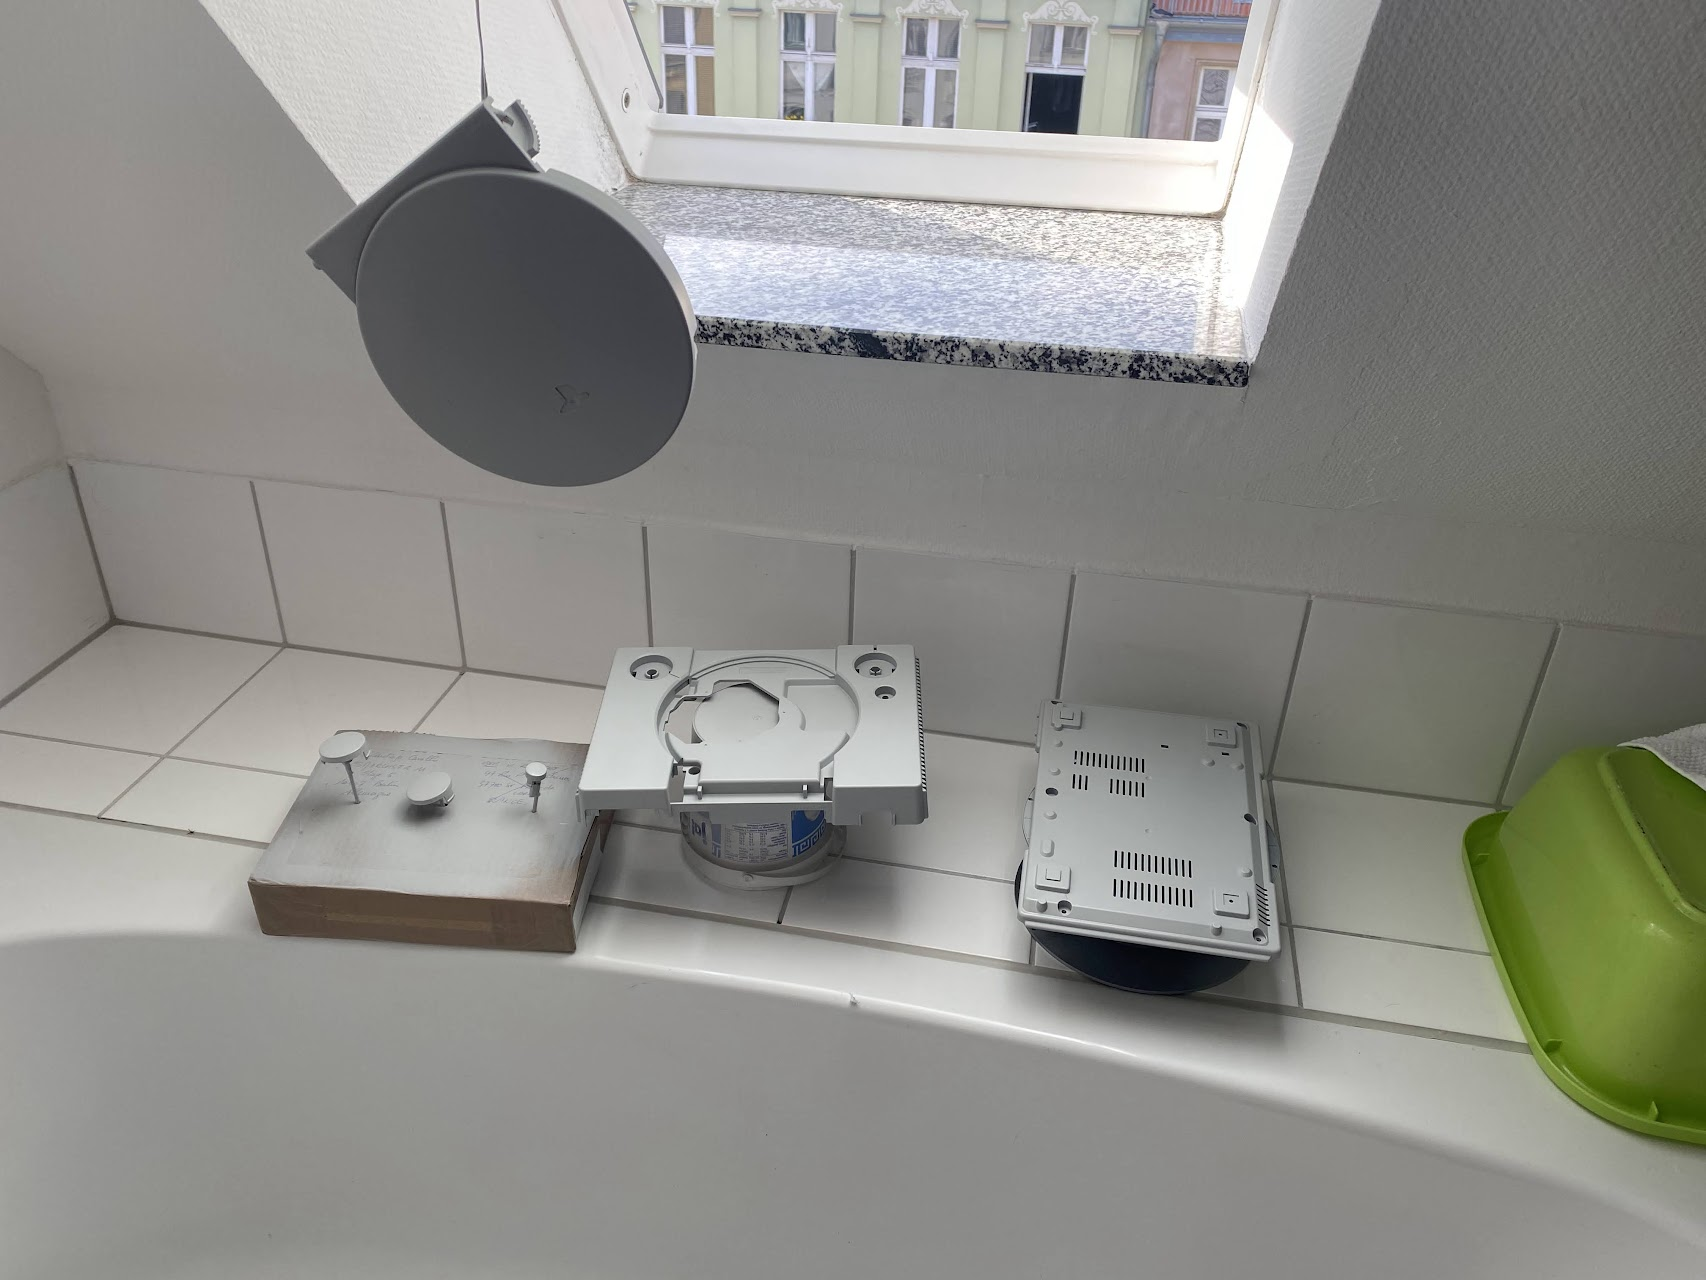
Some primer and sanding
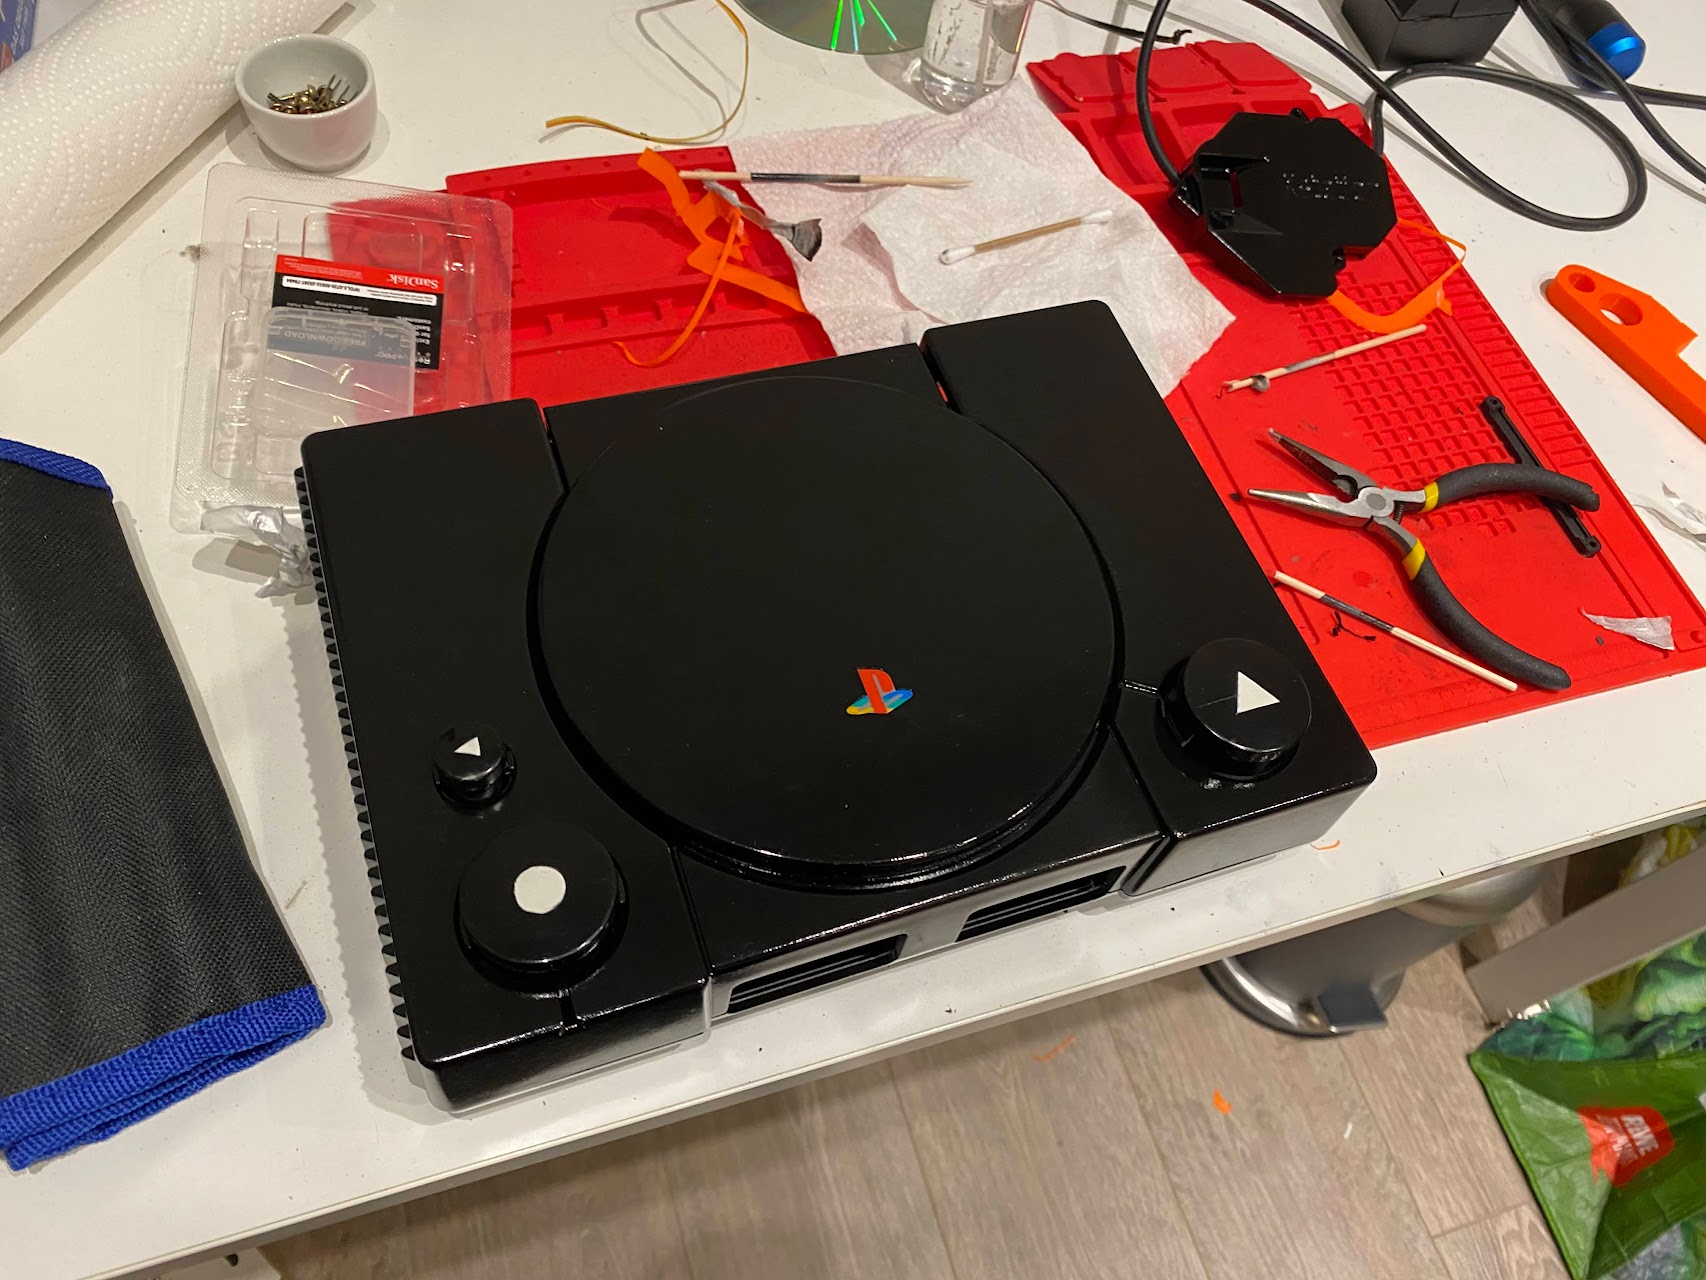
And now some black paint. I also used some white paint to create some icons for the buttons. First I painted them all white, some masking tape with the shape of the button and then black paint. Leave everything dry really well before putting another coat!
Note: Sorry the lack of pictures of the process but I didn’t plan to upload this 😛
The original PSU for the console was toast, basically the transistor was blown and I didn’t want to buy 10 transistors just for one so I decided to buy a modern PSU instead.
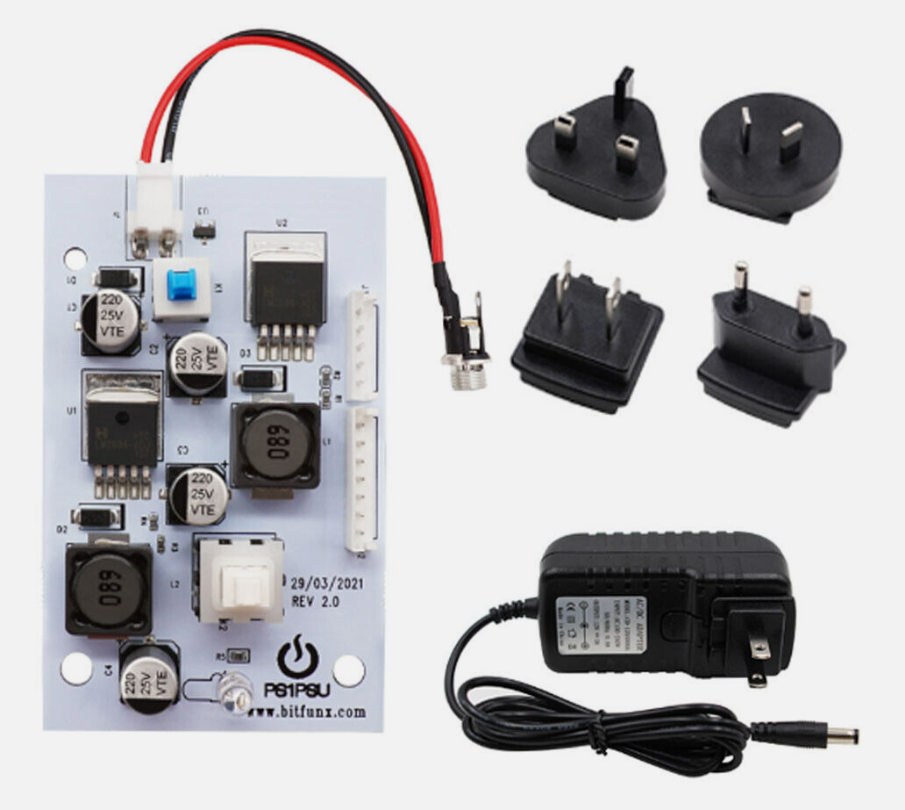
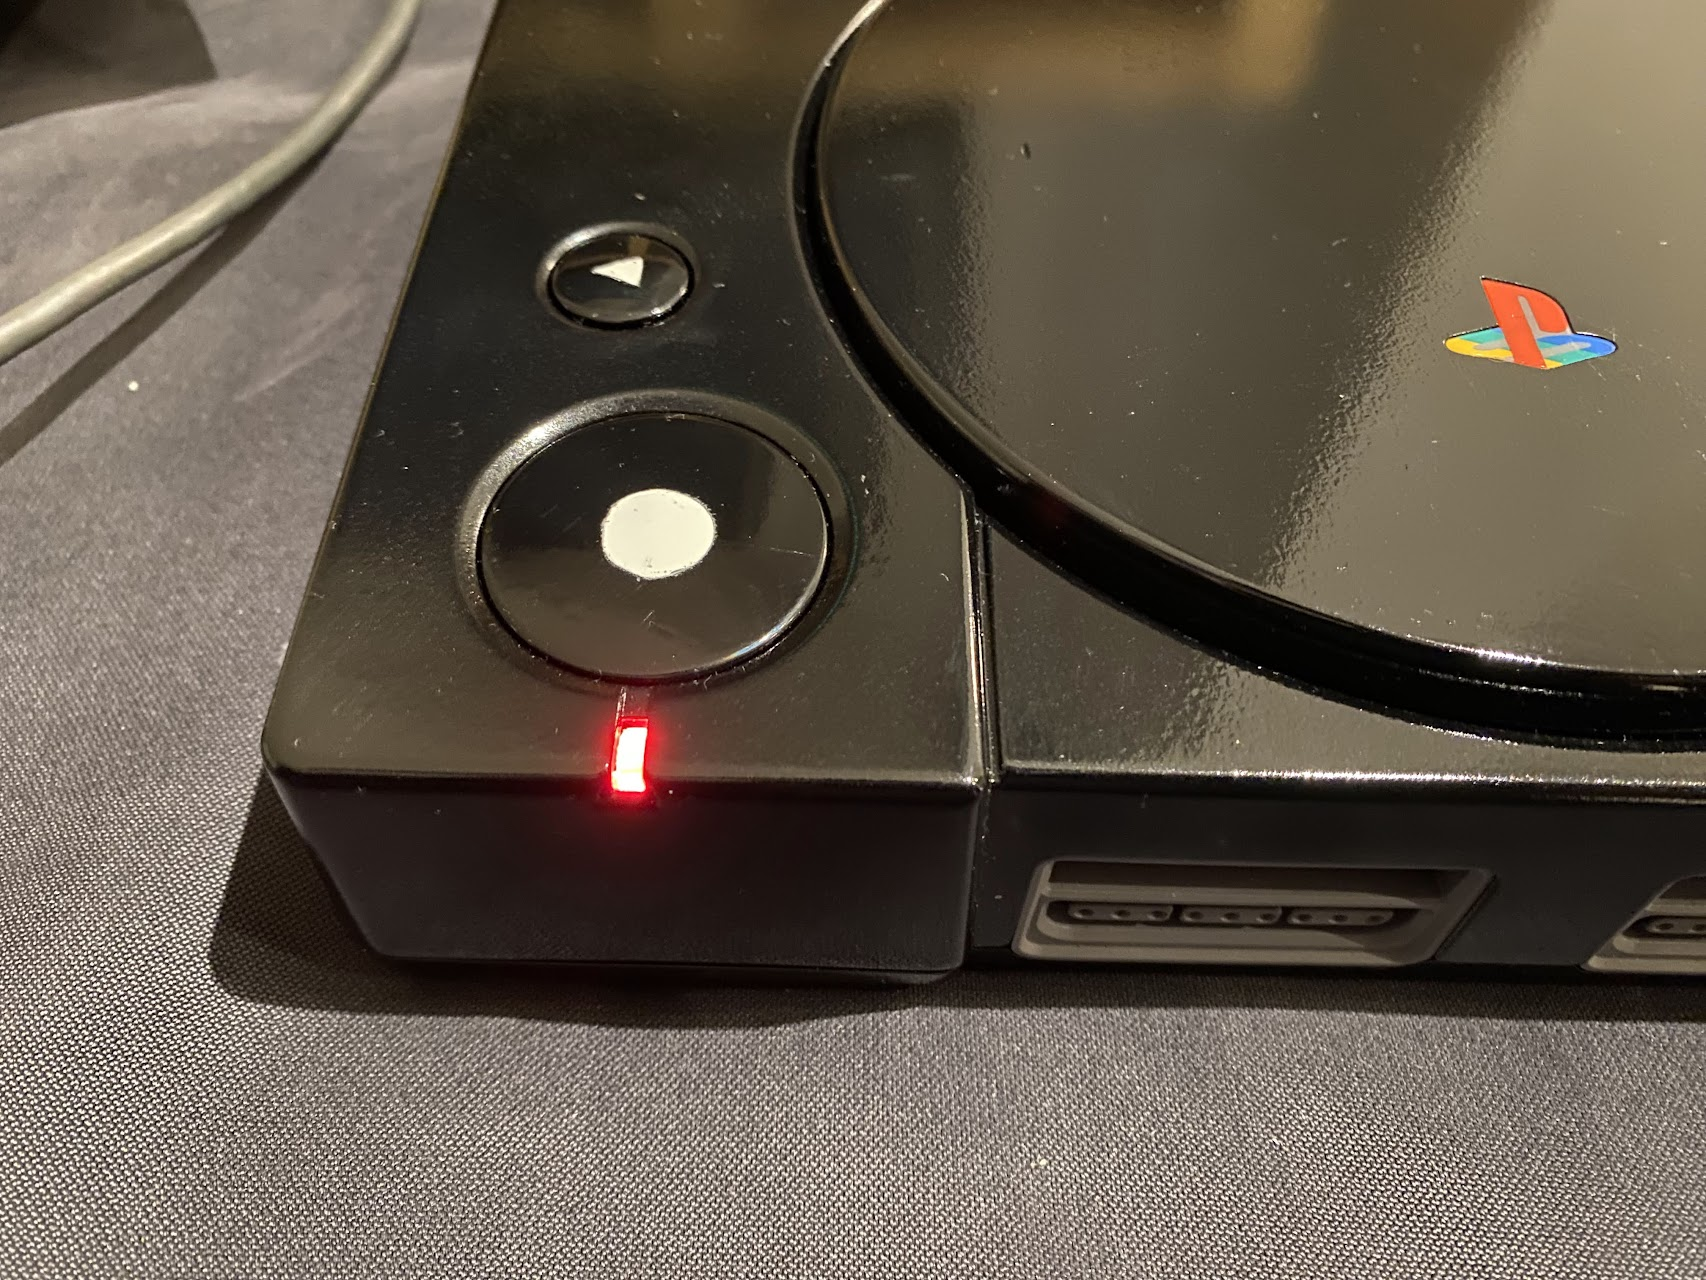
I know some of these PSUs come with an RGB LED where you can choose any color you want for it. Mine did not, so I was just stuck with red for now. I could have changed the LED entirely but I was too lazy to do it and also I did not dislike the red that much.
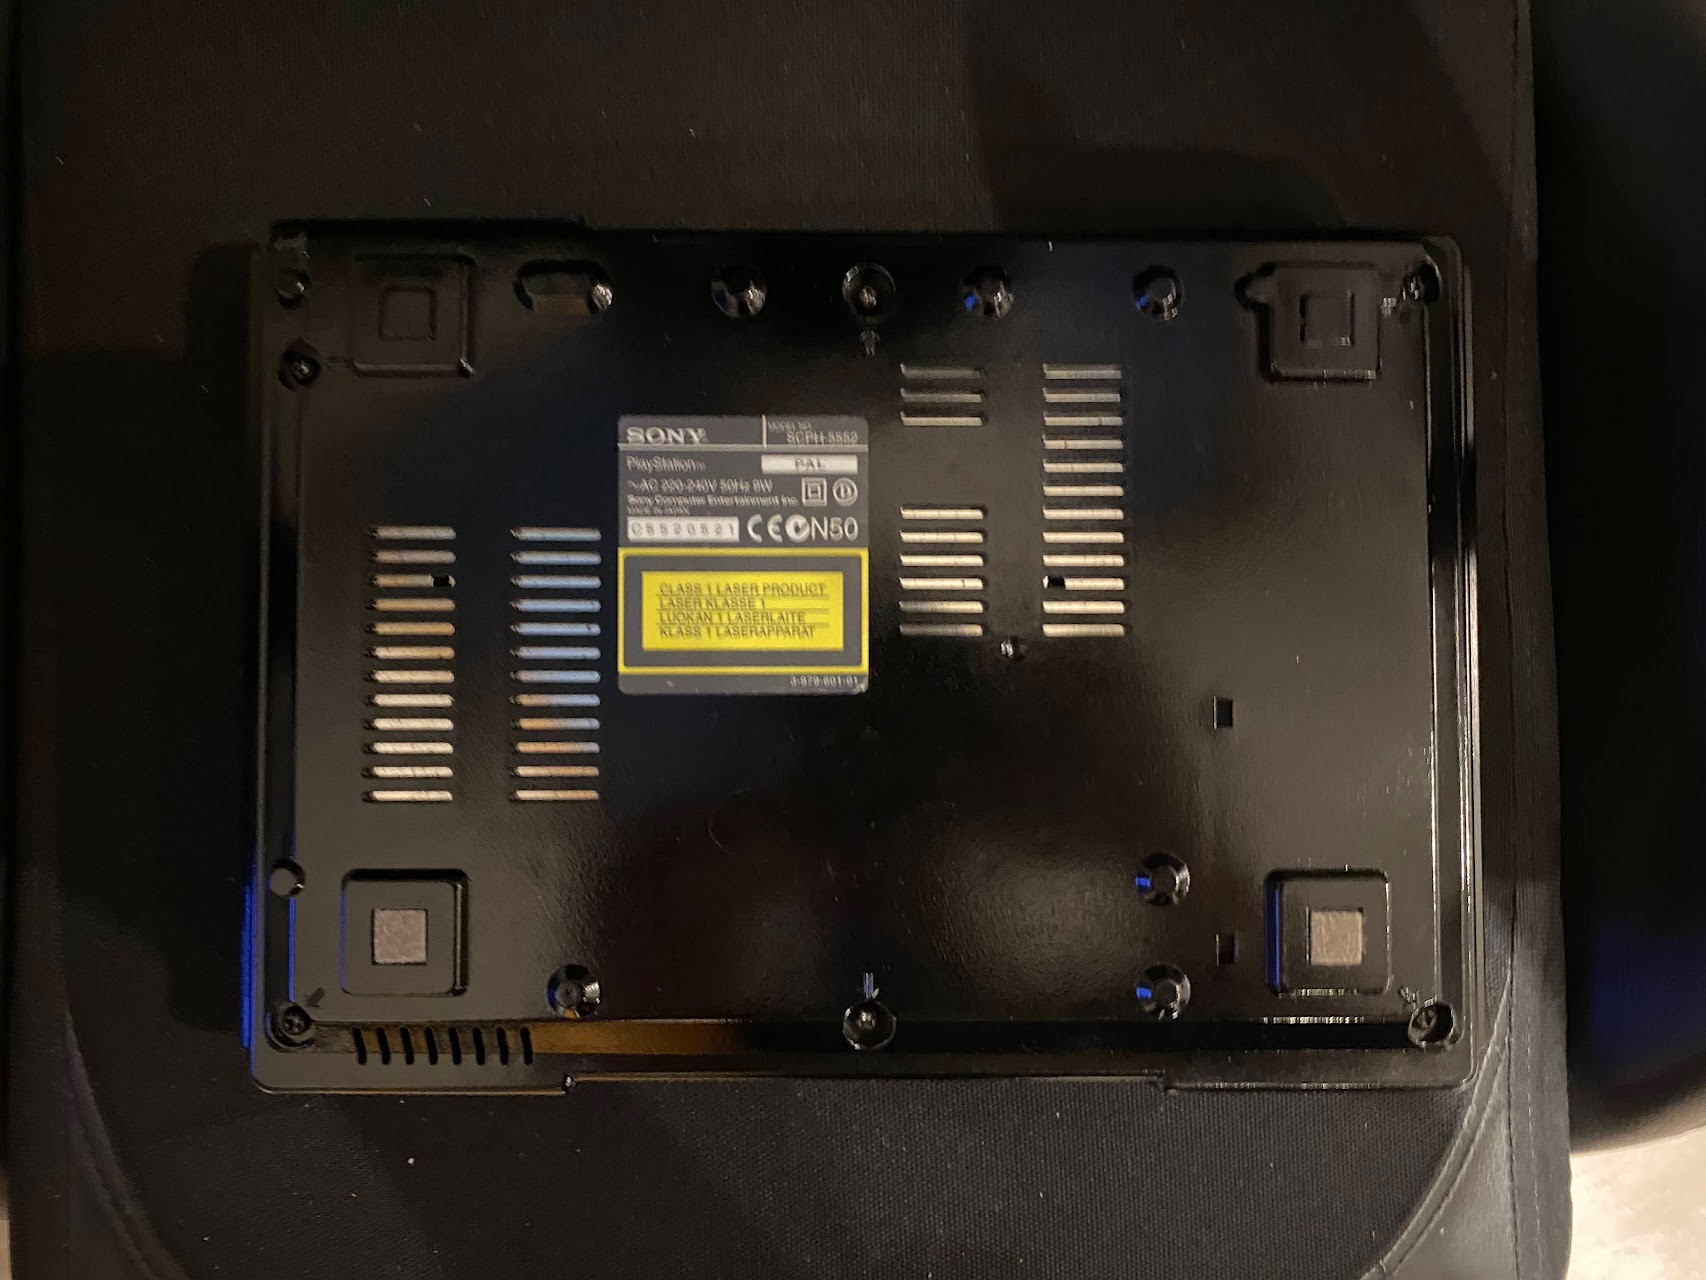
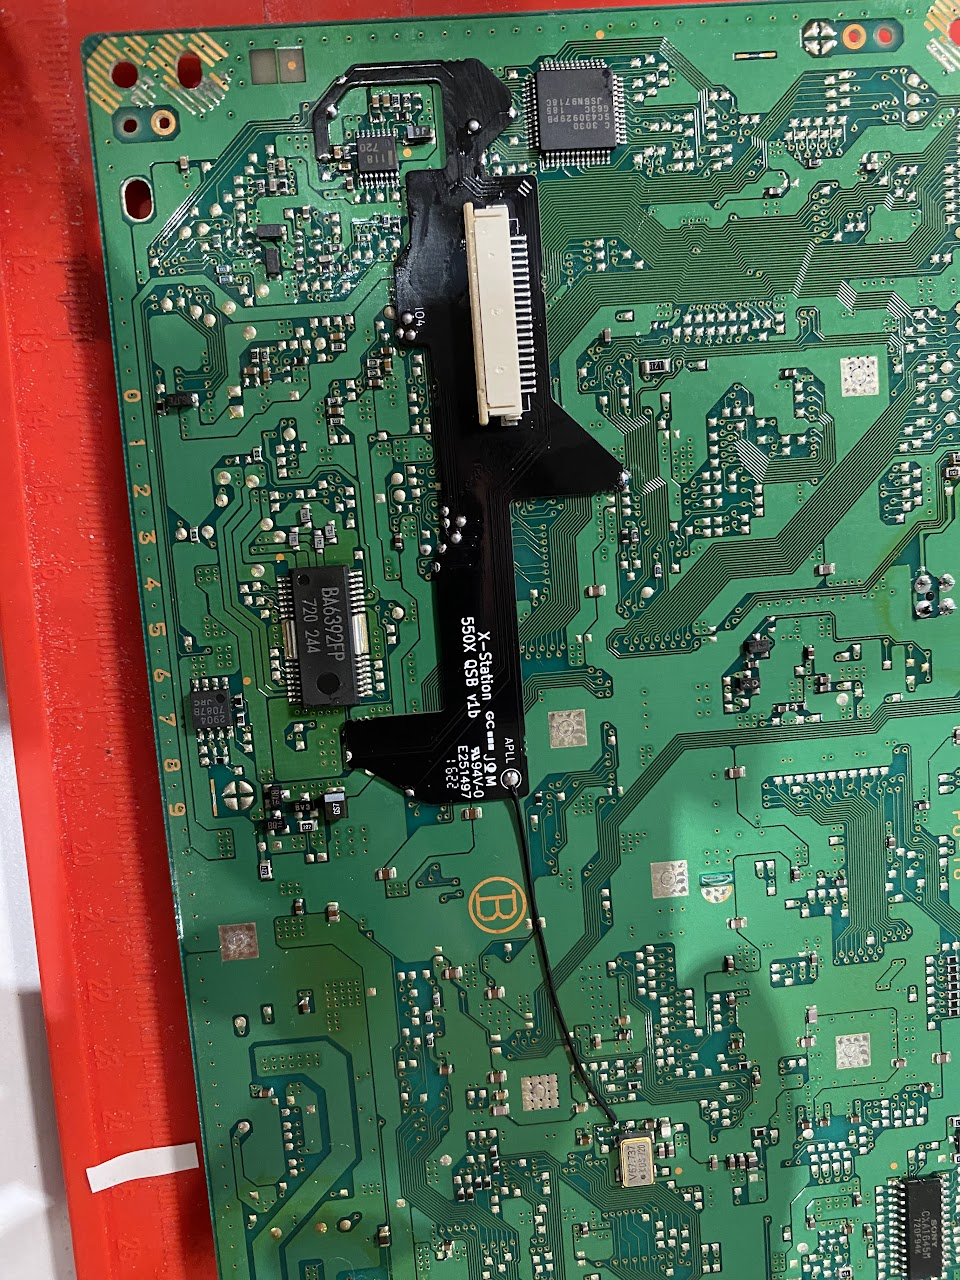
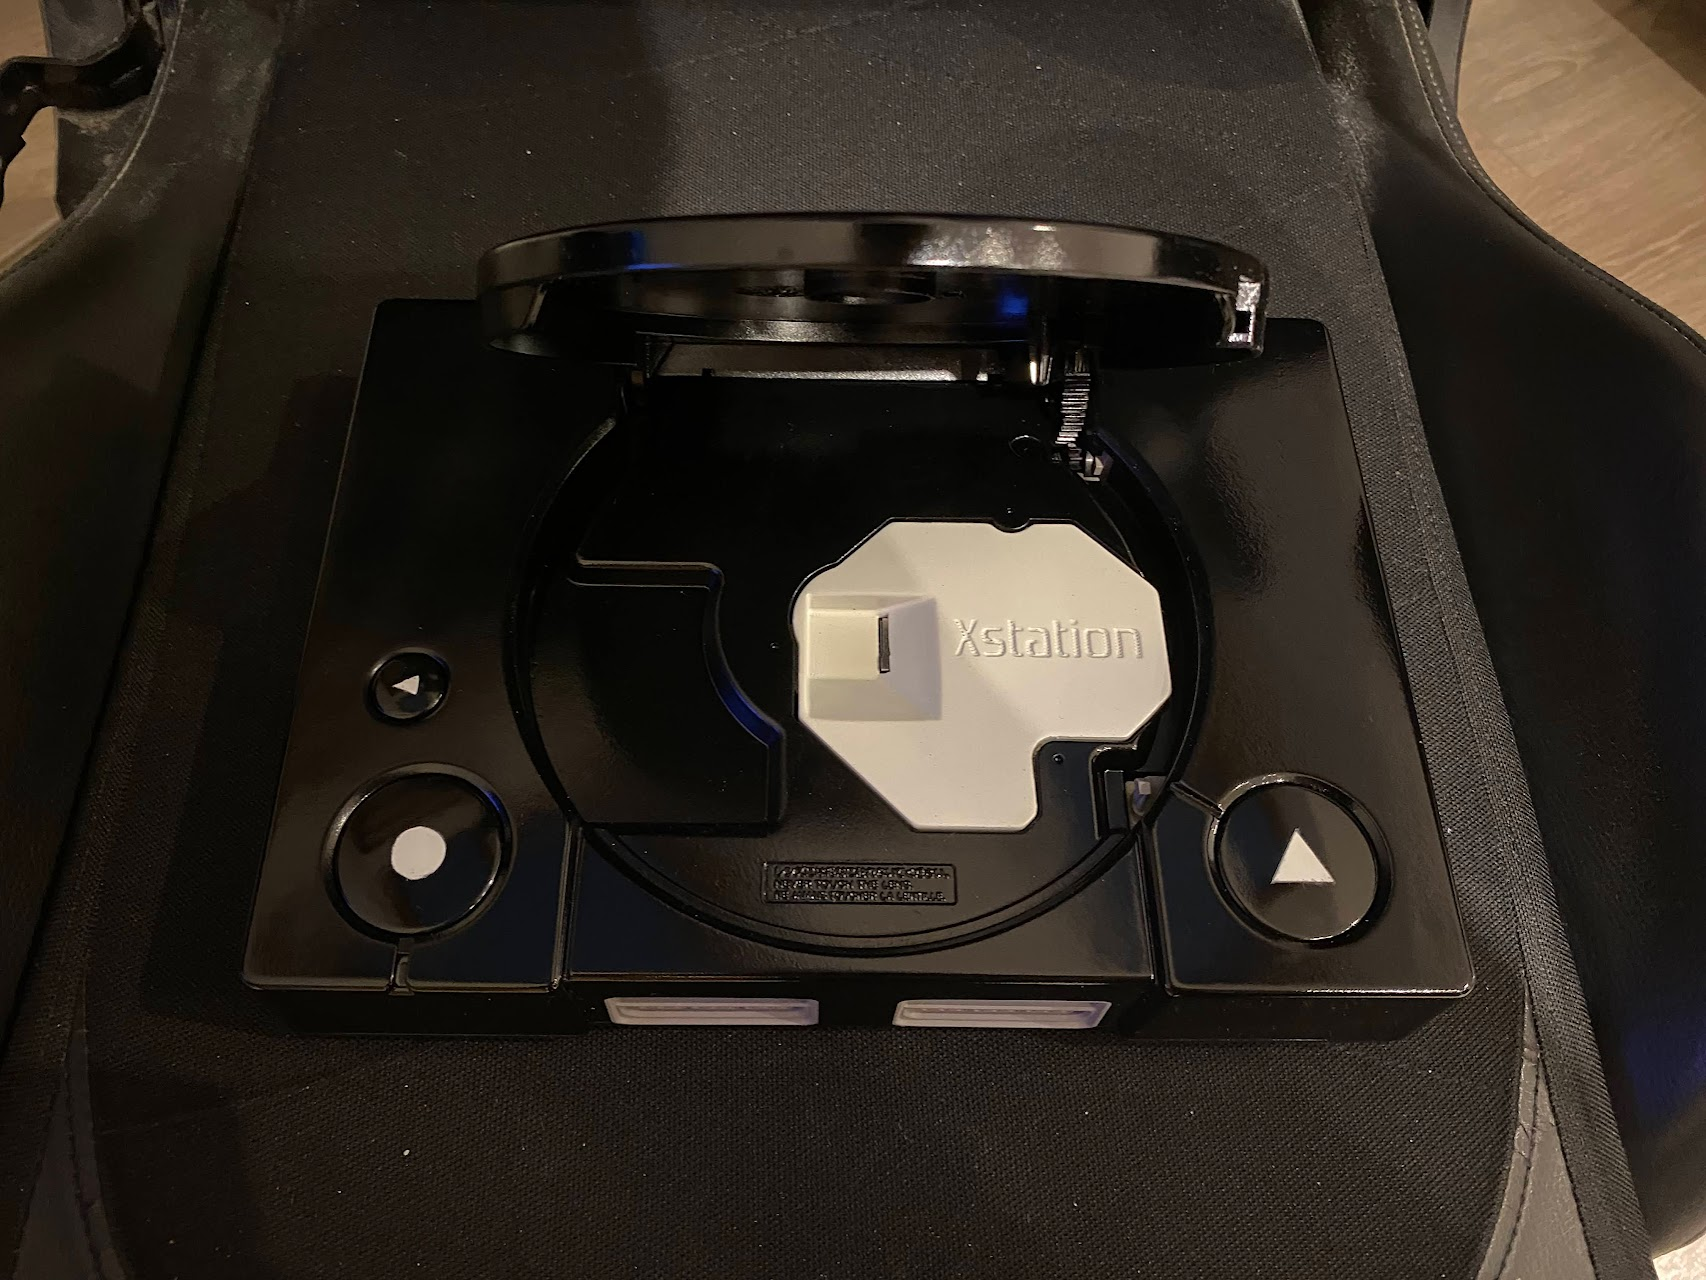
Now it was time to replace the CD drive and install and xStation on it so games can be played from a microSD card. Since I live in Berlin I bought mine from DragonBox. You have to order the one that matches your board revision, mine was a PU-18.
It comes with two boards: one that you need to solder on the back of the console and another one which goes connected through a flex cable on top. The later is the one that takes the microSD card.
Printed a 3D cover for my xStation also. It is going to be post-processed too…

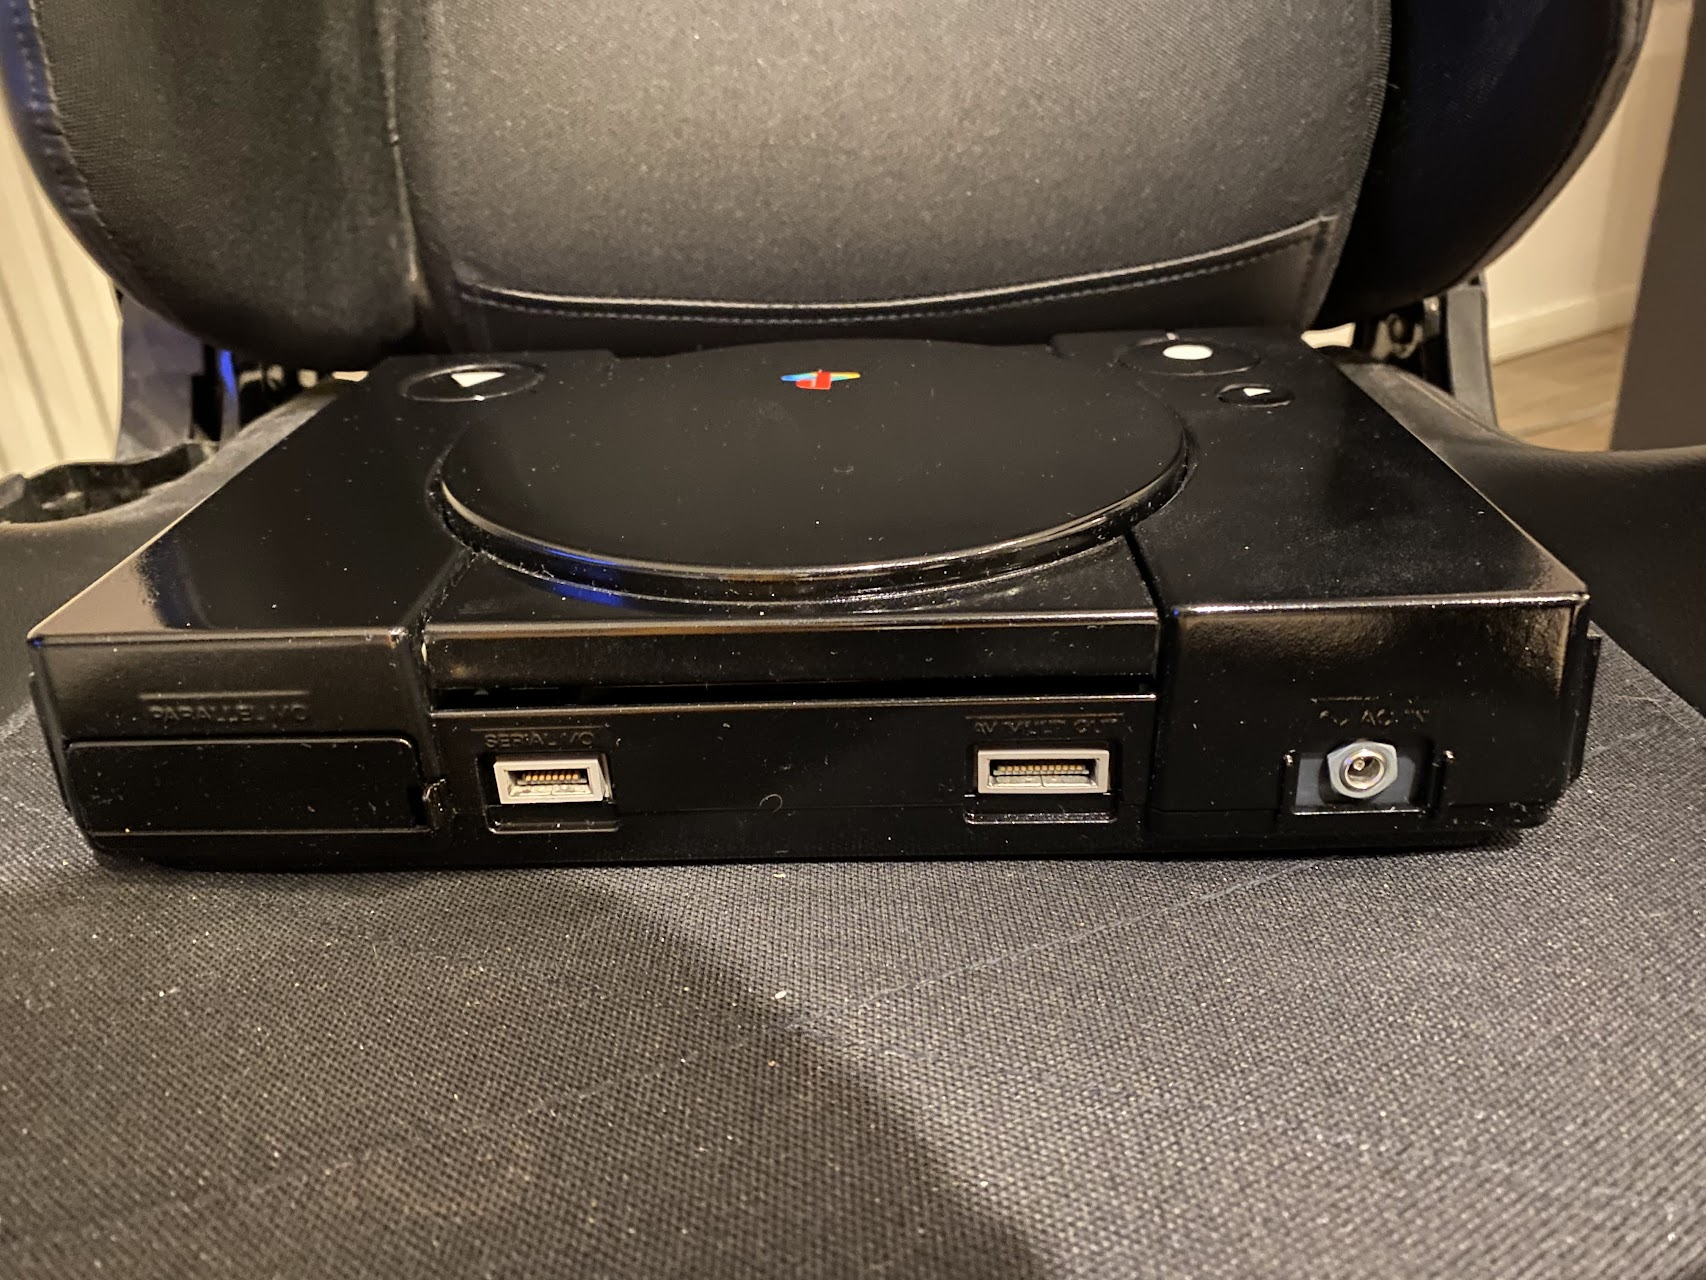
And finally, after everything was installed and finished. I avoided to paint the controller ports since it was too much of a hassle to get them disassembled, but I will try if I do another one in the future.
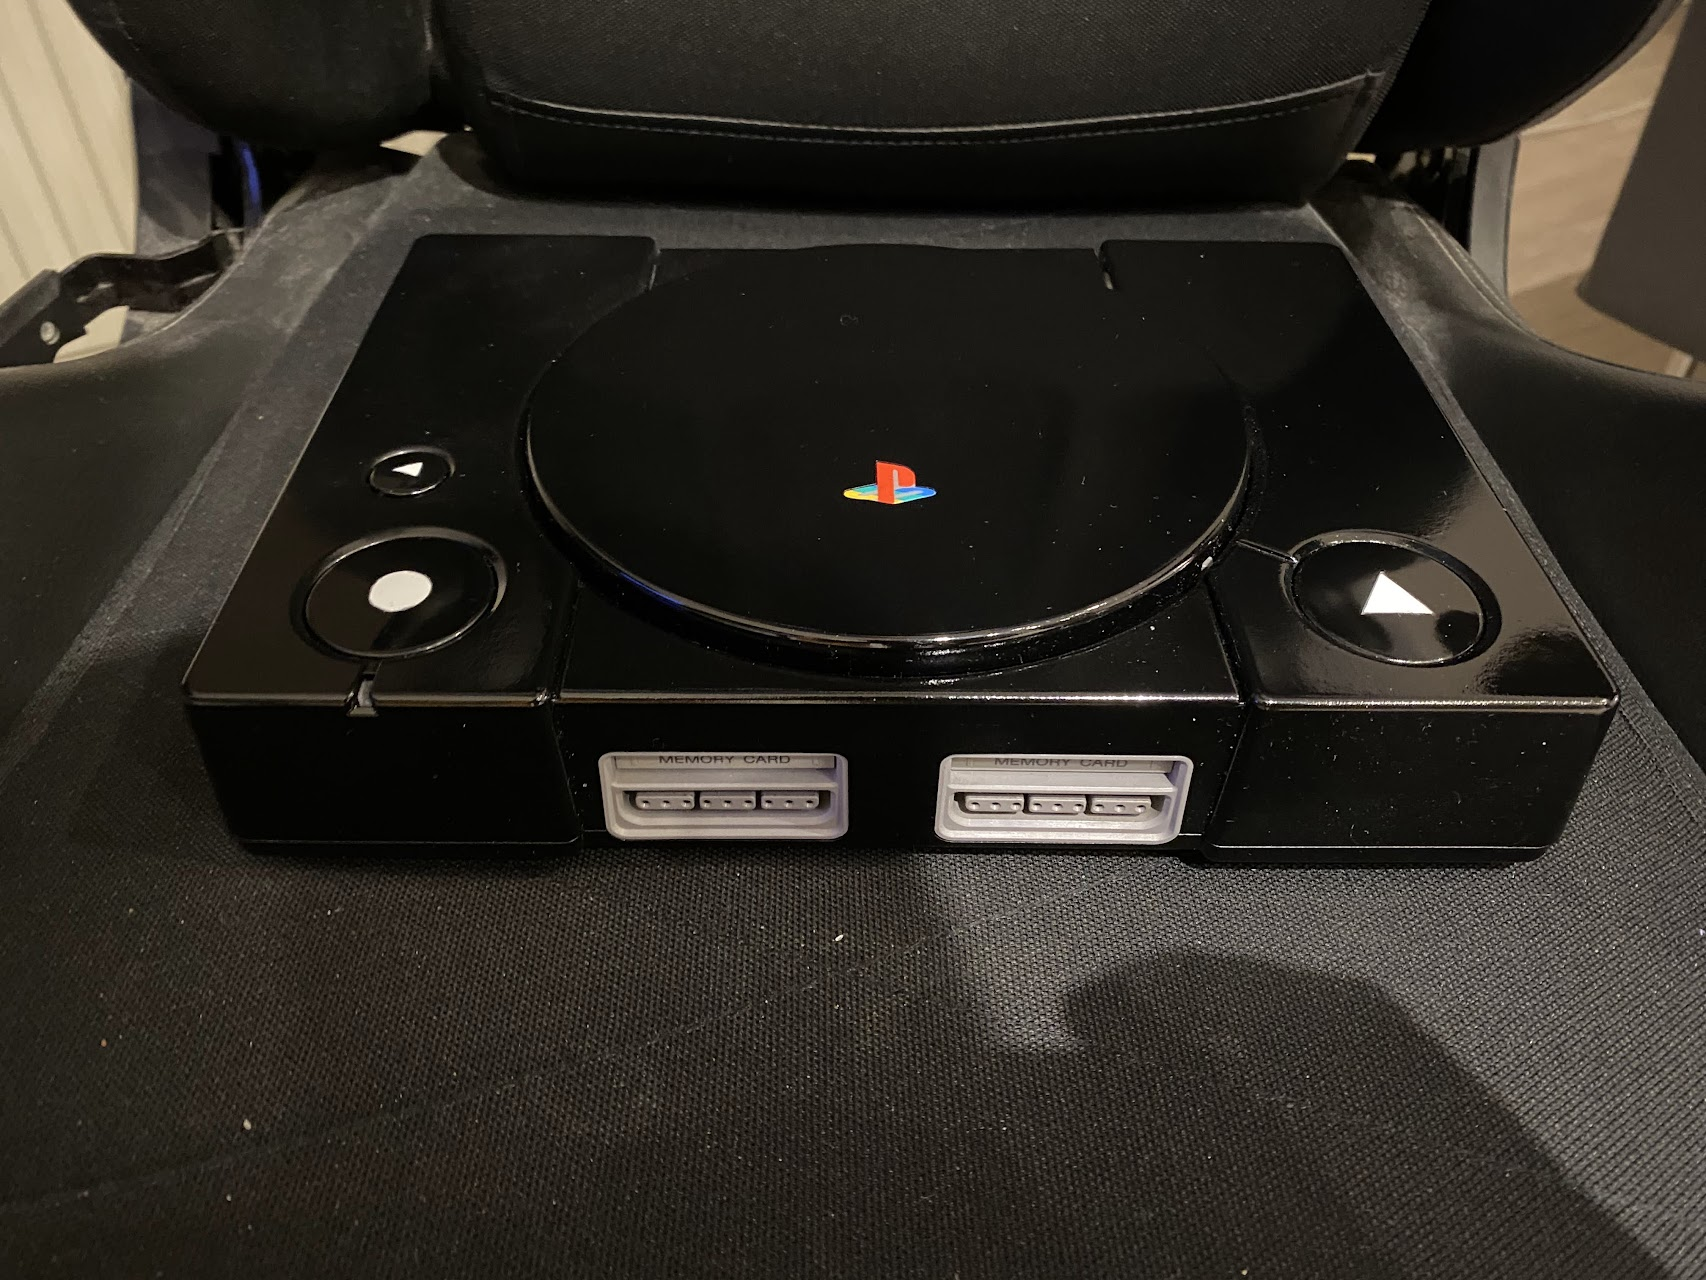
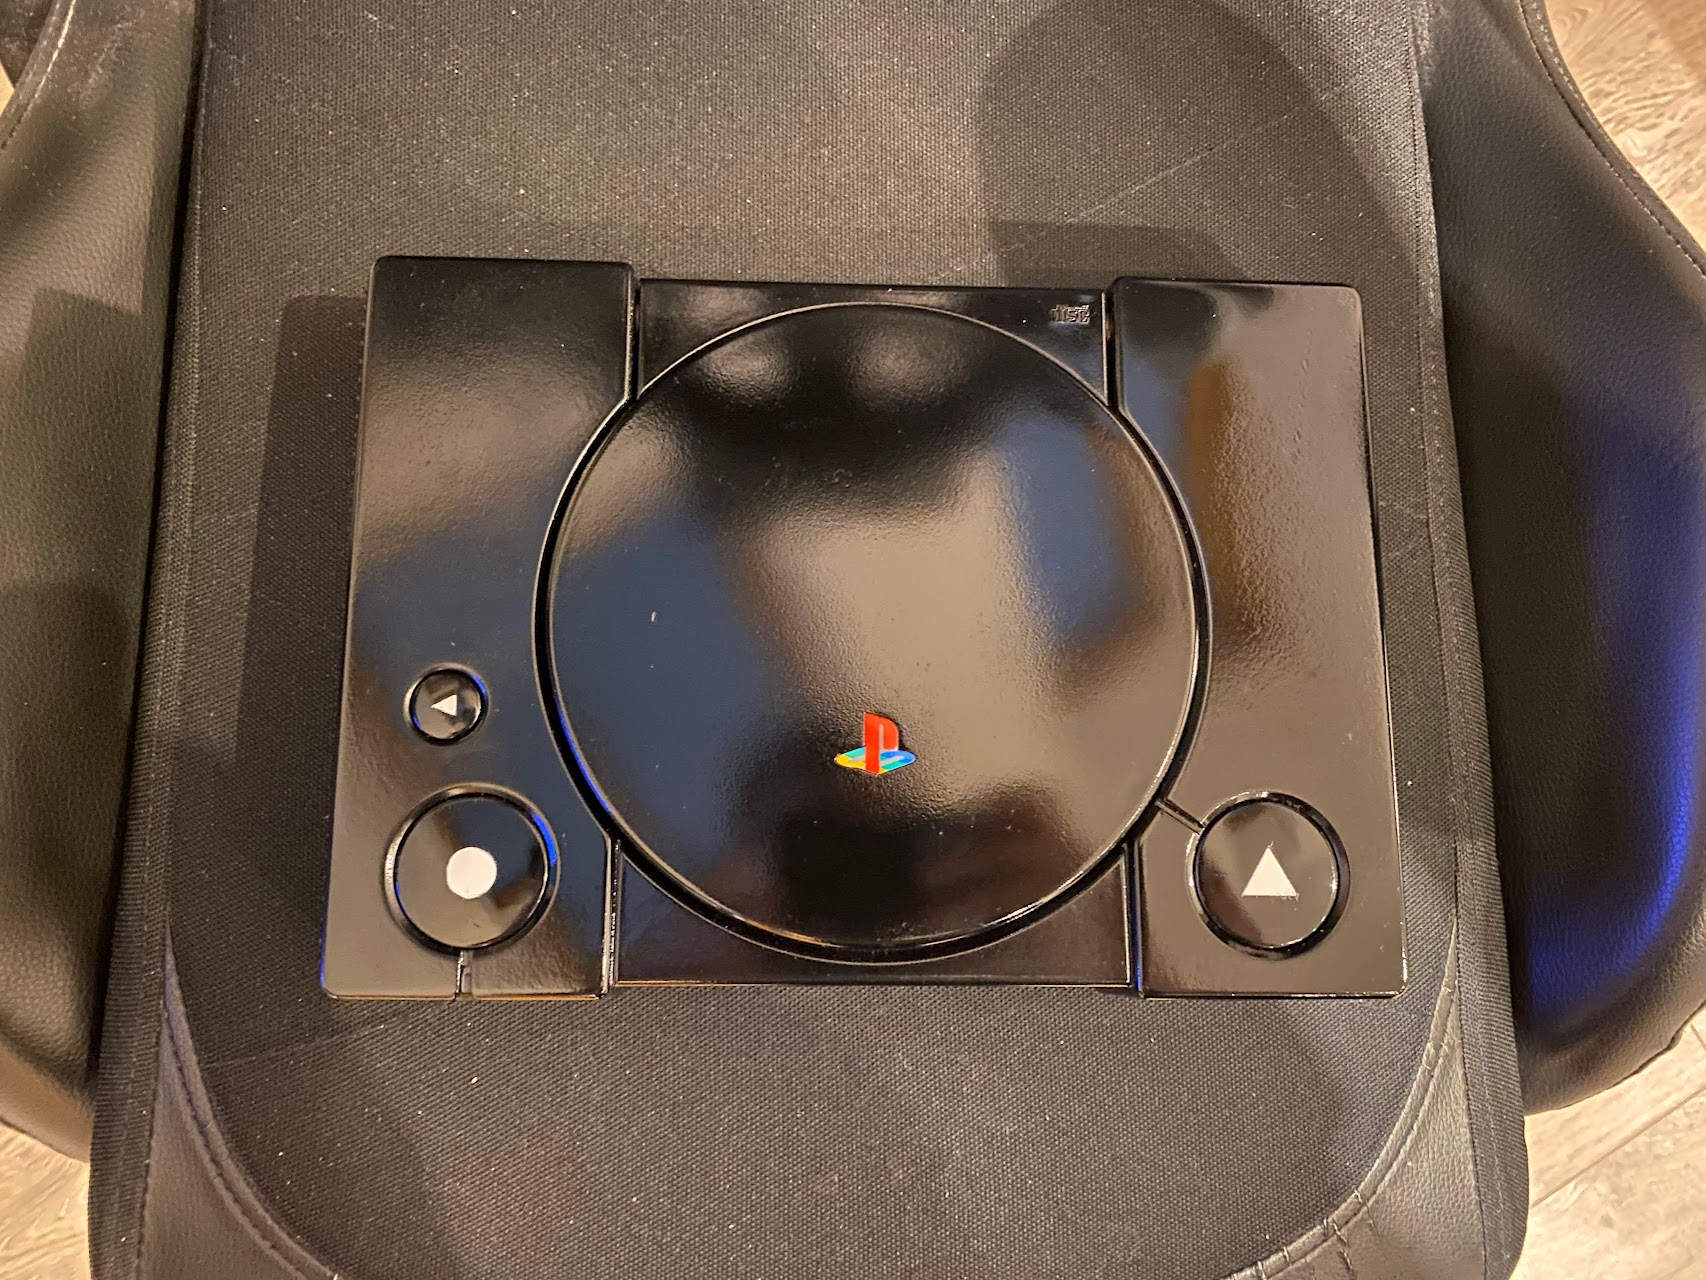
Also put the original sticker back